
Creating eye-catching reels in small spaces can feel like a challenge, but it’s far from impossible. With the right techniques, you can make the most of limited room while maintaining stunning composition that grabs your audience’s attention. Whether you’re working from a tiny apartment or a cluttered corner, great content doesn’t have to rely on massive studios. Choosing between Insta 360 vs. GoPro can be tricky for content creators. Insta 360 offers advanced editing tools and seamless reframing, while GoPro excels in durability and underwater performance. Both brands deliver exceptional results, so your decision should depend on shooting style, preferred features, and the type of content you produce.
In this article, you’ll discover practical tips to optimize your setup, enhance lighting, and frame your shots effectively—even in tight quarters. Learn how to transform small spaces into creative opportunities without compromising the quality of your reels.
Table of Contents
Understanding The Challenges Of Small Space Filming
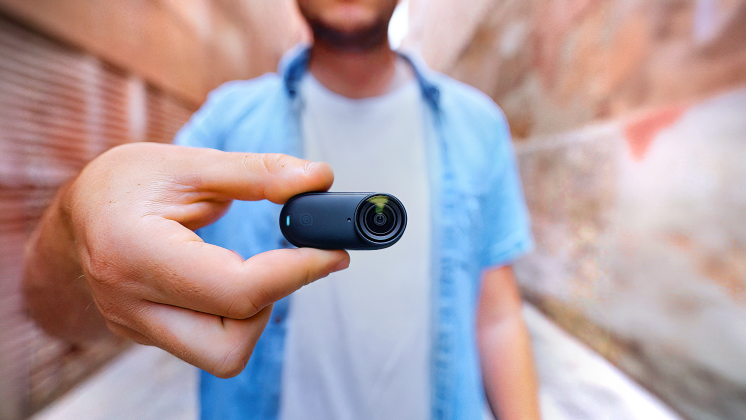
Small spaces limit camera movement, which can restrict dynamic shot angles. Wide shots become difficult without distorting the visual composition or sacrificing framing quality. Using a pocket 360 action cam can help overcome some of these limitations, as its compact design and wide field of view allow for more creative framing even in tight quarters.
Lighting small areas evenly is another hurdle. Your lights can cast harsh shadows, create unflattering glares, or overexpose the scene due to proximity to walls or reflective surfaces.
Background distractions often arise when space is tight. Cluttered or unintentional elements visible within the frame can diminish visual impact.
Audio clarity may suffer in compact settings. Sound reflections from nearby walls can lead to an echo, hampering sound quality.
Set design possibilities shrink significantly in limited rooms. Props need strategic placement, and visual depth becomes harder to achieve in confined environments.
Optimizing space usage remains a constant requirement. If every square foot isn’t thoughtfully utilized, the overall result may feel cramped or inconsistent with your creative vision.
Optimizing Your Space For Filming Reels
Small spaces can deliver professional-quality results when used effectively. By organizing thoughtfully and making strategic adjustments, you can create a flexible filming environment.
Decluttering And Organizing
Clear unnecessary objects to maintain a distraction-free setup. Store items that don’t contribute to your scene in closed storage or another room. Keep the visible space visually clean by organizing essential items, such as props, neatly.
Making The Most Of Natural Light
Position the subject near windows to leverage daylight. Use light-colored curtains to diffuse harsh sunlight and reduce shadows. Reflective surfaces, like mirrors or whiteboards, can brighten darker corners.
Creating A Multifunctional Filming Setup
Transform small areas by integrating versatile elements. Rotate adjustable backdrops or rearrange props for diverse scenes. Use varying angles and light sources to create distinct perspectives within the same compact area.
Equipment Essentials For Tight Filming Areas
Optimizing space effectively depends on selecting compact, versatile equipment. Matching gear to constraints simplifies setups and preserves composition quality.
Compact Camera Gear
Compact cameras with modular designs improve maneuverability. Mirrorless systems or small camera bodies paired with interchangeable components minimize bulk. Using wide lenses or specialized attachments helps capture dynamic angles despite limited space. Secure storage cases ensure portability while protecting sensitive parts.
Portable Lighting Solutions
Portable lights with adjustable brightness and colors adapt to confined spaces. LED panels or battery-operated lights reduce clutter from wires or large stands. Compact tripods with flexible positioning support light sources or smaller cameras like the Insta360 without overwhelming the area. Strategically placed lights prevent harsh shadows and uneven exposure.
Creative Backdrops And Props
Foldable or rollable backdrops make efficient use of space and quickly alter scenes. Neutral tones or subtle patterns complement tight compositions without visual distractions. Props like textured fabrics, small plants, or reflective objects enhance depth while avoiding clutter. Minimalist designs focus attention on the subject.
Composition Tips For Small Spaces
Effective composition in small spaces relies on deliberate techniques to balance elements and draw interest, ensuring visually appealing results.
Utilizing Angles And Depth
Experimenting with angles and leveraging depth can transform compact areas into dynamic visuals. Low angles exaggerate vertical dimensions, making rooms feel spacious. High angles offer a comprehensive perspective, revealing layouts and scale. By tilting the camera slightly, Dutch angles create a sense of unease or intrigue.
Shooting toward a corner enhances depth, separating your subject from the background. Using environmental lines, like furniture edges or ceilings, adds layers and guides viewers’ focus.
Framing For Maximum Impact
Purposeful framing strengthens the composition by focusing attention. Position the subject’s eyes along the upper third to anchor the viewer’s gaze. Variations in shot types convey diverse narratives. Wide shots introduce context, while medium shots highlight interaction. Close-ups intensify engagement by isolating details.
In tight setups, include framing devices such as doorways or windows. This creates structure, adds context, and avoids empty frames.
Leveraging Negative Space
Leaving blank areas adds emphasis to key subjects or objects. Negative space around a person or object isolates and draws the viewer’s eye more effectively. Misusing or overcrowding space risks visual clutter.
Balance placement to maintain harmony. For instance, centering a small object in a minimal setup creates a standalone focal point. Combining this technique with simple backdrops reduces distractions in confined areas.
Editing Techniques To Enhance Small Space Shots
Emphasize subject separation with selective focus to reduce background distractions. Blur non-essential details using bokeh to create intimacy and simplify the composition.
Vary angles and cut points in edits to expand spatial perception. Alternate between close-ups, medium shots, and corner-focused angles to sustain engagement.
Enhance lighting effects and introduce tonal depth during post-production. Increase contrast strategically, adjust shadows, and fine-tune color grading to match your desired mood.
Organize previsualization plans through storyboarding, highlighting key shots and transitions.
This structured approach ensures continuity and smoother post-editing workflows.
Maintain dynamic flow by avoiding static edits. Intercut diverse perspectives to build momentum and break visual monotony.
Conclusion
Creating stunning reels in small spaces is entirely within your reach with the right approach. By embracing creativity, optimizing your setup, and refining your techniques, you can turn even the most limited areas into visually impactful scenes. Every detail, from lighting to composition and editing, plays a role in elevating your content.
With a bit of planning and resourcefulness, you can produce high-quality reels that captivate your audience. Small spaces aren’t limitations—they’re opportunities to innovate and showcase your storytelling skills.