
For many people, camping is the ultimate way to escape the stresses of daily life and reconnect with nature. But even in the wild, a little electricity goes a long way—whether it’s keeping a cooler cold, running a lantern, charging a camera, or powering a CPAP machine. In the past, campers relied on gas generators, but those were noisy, smelly, and often banned at campgrounds. Today, the power station has become a game-changer for outdoor adventures.
But with so many models on the market, how do you choose the best one for your camping or road trip? This guide walks you through key considerations—capacity, portability, output options, recharging methods, and safety—so you can find the perfect fit for your adventures.
Table of Contents
Why a Power Station Matters for Camping
When you’re out in the woods or at a campsite, access to power isn’t just about convenience. It can also be about safety and comfort. Having reliable electricity allows you to:
- Keep food fresh in a mini-fridge or powered cooler.
- Charge GPS units, radios, and phones for communication and navigation.
- Run CPAP machines or medical devices overnight.
- Light up your tent or campsite after dark.
- Power fans or heaters to make extreme temperatures more manageable.
A power station makes all of this possible without breaking the quiet of nature.
Step 1: Determine Your Power Needs
The first step is to make a list of what you actually want to run on your trip. Will you only charge phones and lights, or do you plan to power cooking appliances and a fridge? Each device has a power rating in watts (W), and that number is critical.
- Small loads (phones, lights, cameras): Typically 5–30W each.
- Medium loads (laptops, mini-fridges, fans): 40–150W.
- Large loads (microwaves, portable stoves, CPAP with heat): 500–1,000+ W.
Add up the devices you’ll use at the same time. If your total is around 200W, don’t buy a 200W power station—leave headroom for spikes and surges. Aim for a station with a continuous output rating at least 25–50% higher than your maximum planned load.
Step 2: Match Capacity to Trip Length
Capacity, measured in watt-hours (Wh), tells you how long the power station can run your gear.
A simple formula is:
Runtime (hours) ≈ usable capacity (Wh) × 0.85 ÷ average load (W).
- Weekend trips with light use: 300–500 Wh is usually enough.
- Extended camping with a fridge or CPAP: 1,000–2,000 Wh provides comfort and security.
- Group camping or RV trips with multiple devices: 2,500+ Wh may be necessary.
Think about how many days you’ll be out and whether you’ll have a chance to recharge.
Step 3: Portability and Size
Not all power stations are created equal when it comes to portability. Some are the size of a lunchbox, while others are more like a small cooler. Weight can range from 5 to over 30 kilograms.
Ask yourself:
- Will you carry it by hand to your campsite?
- Do you need it small enough for a tent, or will it sit in an RV?
- Do you need handles or wheels for easier transport?
For hiking or minimalist camping, smaller units are best. For car camping or RV trips, you can afford something larger with more capacity.
Step 4: Look at the Outputs
Different camping gear requires different outputs. A good camping-ready power station should include:
- AC outlets: For appliances like fridges or fans.
- USB-A and USB-C ports: For phones, tablets, cameras, and laptops.
- DC carport: For portable coolers or inflators.
The more variety, the better, especially if you’re camping with friends or family who bring a range of devices.
Step 5: Consider Recharging Options
One of the biggest advantages of a power station is that it can be recharged in multiple ways:
- Wall outlet before you leave: The fastest and easiest way to start your trip with a full battery.
- Car charging while driving: Great for topping up during long drives to the campsite.
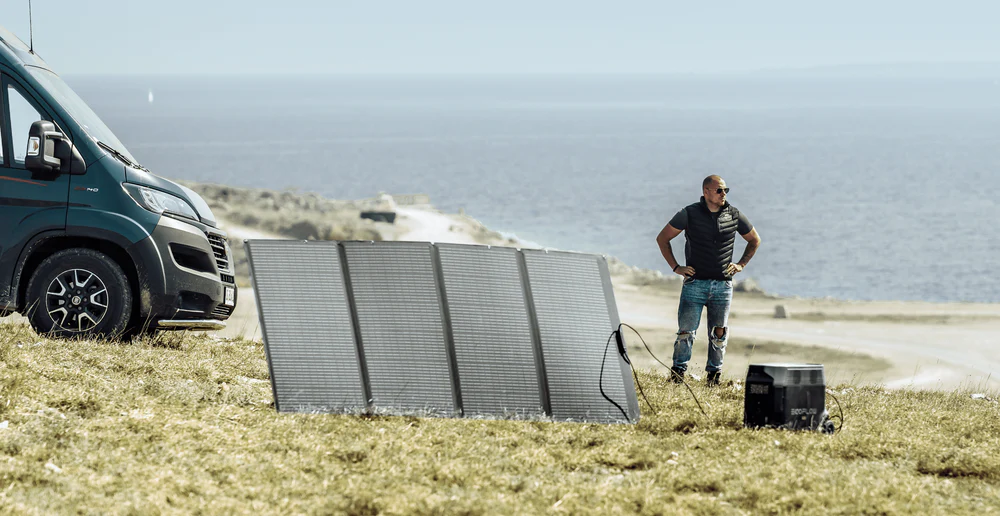
- Solar panels at the campsite: The ultimate solution for longer trips. Solar lets you keep the battery topped up without needing fuel or an outlet.
For camping, solar compatibility is essential. Make sure the model you choose supports solar input, and bring panels sized appropriately for your capacity.
Step 6: Safety and Reliability
Unlike gas generators, power stations are safe to use indoors. But safety features still matter. Look for:
- Battery management systems (BMS): Protect against overcharging, overheating, or short circuits.
- Sturdy casing: For camping, durability is key.
- Low-noise fans or passive cooling: Keeps the unit quiet at night.
Reliability is critical—your trip may depend on it. Always test your setup at home before taking it into the field.
Step 7: Budget Wisely
Prices for power stations vary widely. Small units may cost under $300, while large-capacity models can run over $1,500. Focus on value: choose a unit that matches your real needs rather than chasing the biggest battery available.
For many campers, a mid-range station in the 500–1,500 Wh range offers the best balance of price, portability, and performance.
Final Tips for Choosing the Best Camping Power Station
- Make a clear list of your essential devices.
- Calculate both wattage (W) and runtime needs (Wh).
- Choose a station with at least 25% more power than your maximum load.
- Check for multiple outputs to support all your gear.
- Prioritize solar compatibility for extended trips.
- Test everything at home before heading into the wild.
Conclusion
A power station transforms the camping experience by giving you clean, quiet, and reliable energy without the hassle of fuel or noise. The right choice depends on your devices, trip length, and lifestyle. By focusing on capacity, portability, outputs, and recharging options, you’ll end up with a station that keeps your adventure running smoothly.
For weekend getaways or week-long expeditions, investing in a well-chosen power station means fewer worries, more comfort, and the freedom to enjoy nature on your terms.