
A SCUF controller, for committed gamers, is not merely an additional piece of kit, it is a tool based on precision, speed and consistency. Every paddle click, every trigger press, and every stick movement must feel exactly right. But what happens when it doesn’t? When buttons stop responding or the analog stick drifts slightly off-center, guessing the cause can make things worse.
That’s why professional diagnosis matters. Before any SCUF repair happens, an expert technician runs through a careful process to find exactly what’s wrong – not just what seems wrong. Here’s how the pros at OG Repairs approach a SCUF controller issue, step by step.
Table of Contents
1. Listening to the Player
Good diagnostics start with conversation. Technicians first ask the gamer what’s happening and when the problem shows up, how it feels, and whether it started suddenly or gradually. A controller that fails only after long sessions might point to overheating or flex in the board. One that drops inputs randomly could indicate a faulty USB port or wireless module.
This step sets the foundation: the better the description, the faster the diagnosis.
2. External Check: The First Clues
Before touching a screwdriver, a professional gives the controller a full external inspection. They look for:
- Cracked shell corners
- Sticky buttons or paddles
- Loose thumbsticks
- Damaged USB-C or micro-USB ports
Small cosmetic details often tell big stories. For example, worn rubber grips can hint at sweat intrusion, while scratches near triggers may show where the mechanism is rubbing inside.
3. Testing on a Known-Good System
Next comes the baseline test. The controller is plugged into a calibrated system or diagnostic software that displays real-time input readings. The technician moves each stick, trigger, and paddle to watch for irregular signals.
If the left stick shows ghost movement when centered, that confirms drift. If trigger data spikes erratically, the hall sensors or springs might be failing. Using this digital data eliminates guesswork – it shows exactly which component is misbehaving.
4. Firmware and Calibration Check
Sometimes the issue isn’t physical at all. SCUF controllers utilize firmware – similar to a standard PS5 pad – to communicate with the console, and out of date or corrupt firmware can lead to lag, double-inputs, or missed button presses.
First, the technician checks to ensure the firmware is the correct version, updating firmware if necessary. Then, they will perform an analog stick recalibration. If the problem still occurs, then hardware inspection begins.
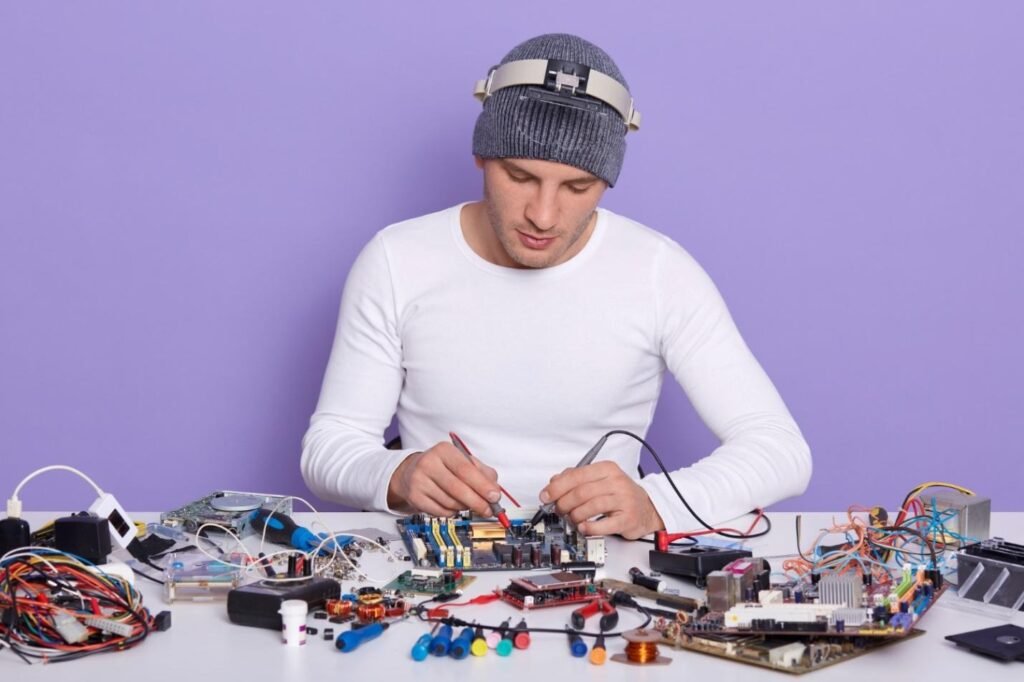
5. Controlled Disassembly
Opening a SCUF controller necessitates more finesse than it appears. Experts use static-safe mats, fine-tipped screwdrivers, or other tools designed to pry the case open to make sure not to crack any posts or rip any ribbon cables. The back plate, trigger assemblies, and paddles come off first, exposing the circuit board and stick modules.
Every part is logged and laid out methodically because missing one screw or misaligned spring can ruin a controller’s feels.
6. Deep Cleaning and Visual Examination
Following access to the board, the technician will remove any debris and examine the board through a magnifying lens. They look for:
- Dust or grit in the stick gimbals
- Corrosion from sweat or moisture
- Lifted solder joints
- Cracked ribbon connectors
Even microscopic dust can cause stick drift, while loose solder points can interrupt paddles or triggers. This cleaning stage alone fixes a surprising number of controllers.
7. Electrical Testing and Component Verification
If the problem runs deeper, pros test the board with multimeter or specialized console-testing rigs. They check continuity across the stick modules, trigger sensors, and paddle microswitches.
Faulty potentiometers or hall sensors show irregular readings. In that case, the modules are disordered and replaced with precision-matched components. This kind of work requires steady hands and experience; one slip can lift a trace off the board.
8. Reassembly and Calibration
It undergoes being re-assembled, and re-calibrated after the technician has finished the inspection or replaced all of the needed components. Every input is tested again on diagnostic software. The goal is perfect balance – smooth analog motion, responsive paddles, uniform trigger pressure, and zero drift.
At OG Repairs, each controller also undergoes a short “burn-in” test, simulating rapid-fire gaming to make sure the fix holds under pressure.
9. Final Compatibility and Console Check
Before handing the controller back, the technician pairs it with a PS5 to confirm flawless operation. They check menu navigation, game responsiveness, and connection stability.
If the controller still behaves unpredictably, then it might point to console-side issues like a damaged HDMI or USB port. In that case, the same workshop can perform PS5 HDMI repair and make sure that the communication link between console and controller is perfect.
10. Reporting and Recommendations
A good repair service doesn’t just hand the controller back fixed – they explain what was wrong and how to avoid it happening again. Typical advice includes:
- Keep controllers dry and clean
- Avoid pressing sticks too aggressively
- Store them away from dust when not in use
- Recalibrate after firmware updates
This transparency builds trust and helps gamers maintain peak performance longer.
Why Professional Diagnosis Matters
A SCUF controller is built for precision, not trial-and-error SCUF repair. Each paddle, sensor, and trigger is part of a tightly tuned system. One wrong move with household tools can make the problem worse or void the warranty entirely.
Following a structured diagnostic process, professionals only fix the real problem and make sure that all else remains the same. This is not just making a controller work again, but keeping the feel that makes SCUF controllers what they are.
Final Thoughts
Diagnosing a control board is equal parts art and magic; it can take and patience, the right equipment, and understanding how fragile mechanical and electronic systems behave.
If it’s drifting, lagging, or malfunctioning, don’t overthink what your controller could use. Have it analyzed by pros that find the root cause, fix it correctly, and return it ready for competitive play.
At OG Repairs, every SCUF repair follows this step-by-step approach – from external inspection to final gameplay testing. And if the issue extends to your console’s connection or display, their team can handle PS5 HDMI repair as well.
You shouldn’t have to fight your controller. Let the experts bring it back to perfect form so you can focus on what matters – the game.